WordPress as a tool – Easy way to create a WordPress website

How To Create a Website/Blog Using WordPress
In our previous article, we talked about wordpress.com vs self-hosted which I believe you all understood.
In this article, I will teach you how to create a self-hosted wordpress website.
After getting your domain name and host, you will be sent some messages, check your e-mail for that. There you will be provided the links and login details to your cpanel, ftp and so on.
Copy the link to your cpanel and open the url in your browser. You will see the cpanel login page asking you to provide your details and login.
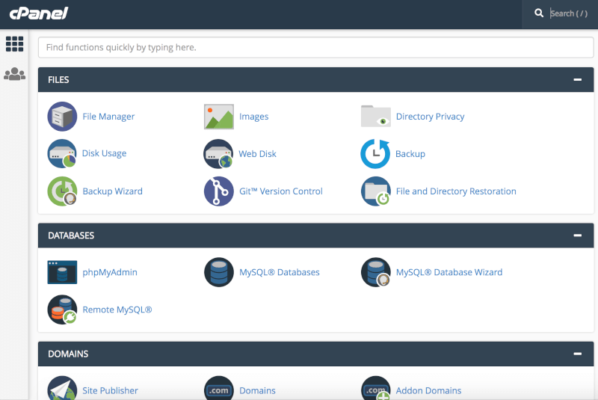
A typical cpanel dashboard – May be different in other host
After logging in, you will see different tools on the cpanel page. Look for SSL/TSL, generate SSL certificate for your domain.
What do I mean by SSL?
SSL is a security protocol protecting your site from various attacks.
How to know/identify a site having SSL, it will have “https” not “http”. NB: some sites has the SSL cert activated but it will still be showing error, the reason(s) is/are because the SSL got expired or not installed properly. A self-signed certificate can also show errors too.
Some hosting providers offer free SSL certs using the Let’s encrypt tool. Hosting providers like namecheap activates your SSL cert for you immediately you connect with their host.
After you are sure that your signed SSL cert is not showing error, you can proceed with the next step.
Go to or search for wordpress on the cpanel page. It is categorized under the softaculous installer while host servers like godaddy uses installatron not installation.
After the wordpress button has appeared, click on it to open into a new tab.
Open the new tab and click on custom install not quick install.
You will see some input boxes below where you will be asked to select the domain you want to use, select whether you want to install “https, http, https:// www or http:// www.”
“Fill in Your site’s name, your site’s description or tagline, your username and your password, select a theme (not necessary), activate classic editor, you can choose to un-tick the Limit login attempts (Loginizer plugin). Then Install.”
Congratulations! You just created a wordpress website. You will be shown links to your admin dashboard and homepage, “https:// www. example. com/wp-admin;” “https:// www. example. com/.”
You just finished the phase 1. Follow the next article on what to do after creating a wordpress site.


